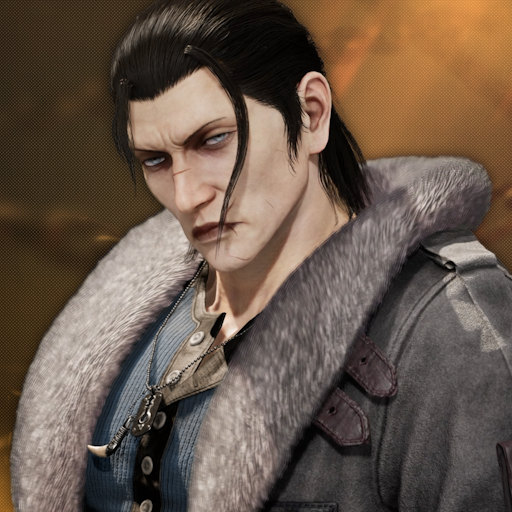
Devil Jin
Access to the Mishima toolkit, including the EWGF, Flash Punch Combo, a launching Hellsweep, a Demon Paw, and a Demon Steel Pedal.
Explosive, high-risk high-reward Mishima
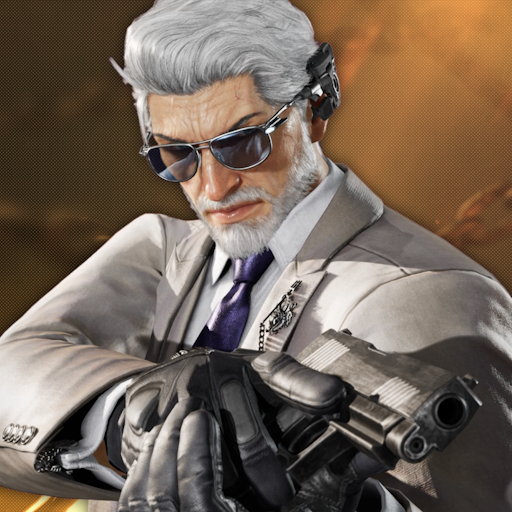
Devil Jin is an explosive, high-risk high-reward Mishima-style character. As a Mishima, Devil Jin has access to the Electric Wind God Fist, Flash Punch Combo (1,1,2), a Demon Paw (f,F+2) that establishes respect in neutral, and a Demon Steel Pedal (b+4) that grants him incredible okizeme. Most importantly, his Hellsweep (CD.DF4,1+2) is the fastest low launcher in the game and allows him to terrorize his opponents at all times. To complement this, Devil Jin has access to an i14 mid launcher in Alaya (ws2) that tracks to the right, which grants him a launching wavedash mixup that cannot be option selected with movement. He finally puts his wings to good use with strong approach tools such as Devil's Shaft (f,F+4), and his signature Mourning Crow stance, allowing him to blitz through the neutral with a myriad of power mids. Finally, Wicked Jambu Spear (b+3) allows him to fly backwards and evade retaliation, and Samsara (u+4) is a low crush launcher that lets him go under even some mids and launch his opponents for massive damage. Devil Jin is further improved in Heat thanks to a better Hellsweep extension (CD.DF4,H.3), unsafe Heat Engagers turning +5 on block, and a devastating unblockable high in Mourning Crow (MCR.H.1+2), granting that stance an actual mixup. His Heat Smash also boasts the longest range in the game and lets him enter Mourning Crow on block with advantage. Unfortunately, high-reward means high-risk. Hellsweep and panic buttons are death on block, Mourning Crow can be floated, and string extensions are either very unsafe or duckable. His smaller buttons such as his df+1 or d+3 are lackluster, and his jab is incredibly stubby. Aside from Hellsweep, his only other usable power low is Malicious Mace (db+2), which is serviceable at best and reactable at higher level. Finally, unlocking Devil Jin's power requires a lot of homework in both execution (EWGF, wavedash, iws2, optimal combo routes) and fundamentals, making him a rather difficult character to play.
Access to the Mishima toolkit, including the EWGF, Flash Punch Combo, a launching Hellsweep, a Demon Paw, and a Demon Steel Pedal.
Devil Jin's Hellsweep is the only truly threatening low in his kit, forcing him to commit to a stagger low at all times in order to condition opponents.
Stances
- FLY – 3+4
- CD (Crouch Dash) – f,n,d,df
- MCR (Mourning Crow) – f+3
Heat Smash
H.2+3 mid - i18-28 - +11 (MCR) +2~+12 (standing)
- Allows Annihilation Beam followups after certain moves
- Can perform EWGF without perfect input
- Allows the use of Spinning Demon Leviathan and Inner Purgatory
Strengths
- Mishima
Access to the Mishima toolkit, including the EWGF, Flash Punch Combo, a launching Hellsweep, a Demon Paw, and a Demon Steel Pedal.
- High-Risk, High-Reward
Extremely explosive 50/50s from his wavedash mixup and in Mourning Crow stance during Heat.
- Brutal Comboes & Okizeme
Excellent combo damage coupled with high wall carry and damaging wall comboes setting up his incredible okizeme.
- Strong Approach
Large collection of robust and safe approach tools, combined with his Mourning Crow stance.
- Excellent Punishment
Some of the best whiff punishers in EWGF and uf+1, a very good i10 punish (1,1,2), one of the best i11 WS punishers (ws4,4), and a rare i14 WS launcher (ws2).
- Panic Buttons
Highly evasive defensive options in u+4 and b+3, coupled with a reversal in b+1+3, allowing Devil Jin to punish opponents for attempting to take their turn.
- Complete Throw Game
Devil Jin has access to a complete set of command throws (1,2, & 1+2 breaks).
Weaknesses
- I Have No Lows & I Must Hellsweep
Devil Jin's Hellsweep is the only truly threatening low in his kit, forcing him to commit to a stagger low at all times in order to condition opponents.
- Living On The Edge
His gameplan is an extremely risky one. Mourning Crow is susceptible to being floated, most string extensions are launch punishable, his wavedash mixup consists of two unsafe main options, and his aforementioned panic buttons are death on block.
- Mechanically Demanding
Many difficult execution requirements are necessary, such as performing ws2 out of a wavedash, performing EWGF consistently, or making the most out of every launcher.
- Subpar Generic Tools
Generally limited generic tools with mediocre poking and a stubby jab.
- Underwhelming Mids
Mids often either end his turn on block with not much reward on hit, or are very risky to throw out.
Disrespects his mom
Moves to learn first
Signature and situational picks come from the guide; the fastest launcher and best unpunishable poke are derived from this character's own frame data.
- Signature→·↓↘○○;
f,n,d,df+4,4; f,n,d,df+4,1+2; f,n,d,df+4,H.3
- Signature→→R1✕
f,f,F+3
Leaping Side Kick
- Launcher→·↘L1/R1△
hard
- Launcher→·↓↘L1/R1△
hard
- Launcher↓✕○
i15 · 5 dmg · -15 on block
Double Lift Kicks
- Launcher↓△
i14 · 20 dmg · -12 on block
Alaya
- Wall splat←□△
i23 · 10 dmg · -14 on block
Brimstone Strike
- Wall splat↘□△
i17 · 11 dmg · -9 on block
Dark Twin Lancer
- Counter-hit launcher←○
i17 · 20 dmg · -8 on block
Demon Steel Pedal
- Heat engager←△✕
i25 · 11 dmg · -14 on block
Rakshasa's Fury
- Heat engager←✕
i29 · 24 dmg · -18 on block
Wicked Jambu Spear
- Heat engager↗○
i18 · 21 dmg · -8 on block
Wraith Kick
- Fastest launcher←→□△
i6 · 6 dmg · -17 on block
- Safe on block↙□△
i23 · 15 dmg · -9 on block
Demon's Spear
Watch the guide
Video guides for this character, linked to the sections that matter most. Notation on this site comes from the frame data; these show the technique.
Other fighters